
When you need to create more than multiple checks, but aren't using an accounting software, the check run feature is there for your convenience. If you are issuing multiple checks from an accounting software, consider a check import instead. If you're issuing multiple checks from QuickBooks desktop, download our add-on.
Writing a check run is very easy. So, let's get started!
- From the Send Checks drop down, select the account from which you are writing checks.
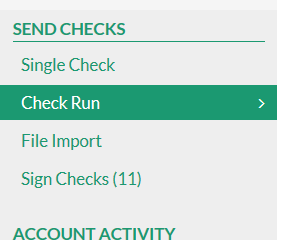
- In the green left navigation, under Send Checks click on Check Run.
-
Once you click on Check Run, you will see a table you can enter all your info into.
- To save time, simply click the icon next to "Payee" to copy in the payee's name and email address.
- Click blue “Add a Check” on the lower right corner until you have as many fields as you need.
- If you are going to be printing the checks out, put in your own email address.
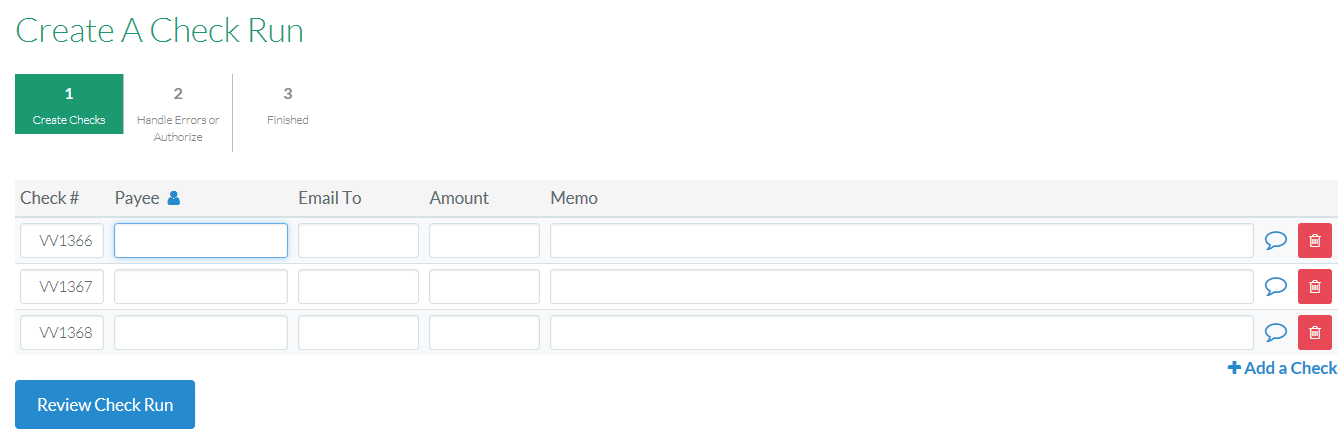
- Once everything thing looks good, click review check run.
Note: You CANNOT edit the checks after you click review check run.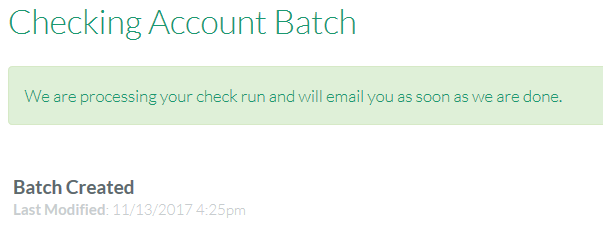
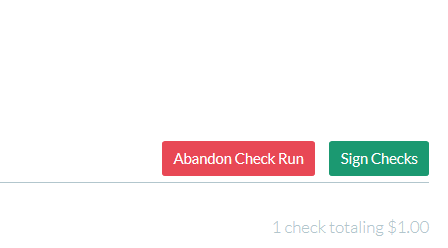
- Review the information and, if correct, click sign checks.
-
You will get a couple messages to confirm you are ready.
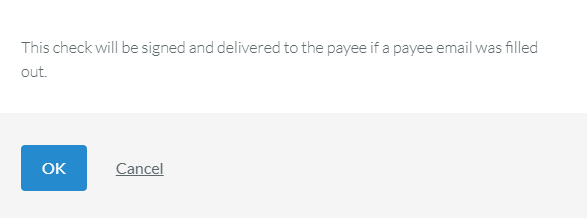
Once you click OK you will see: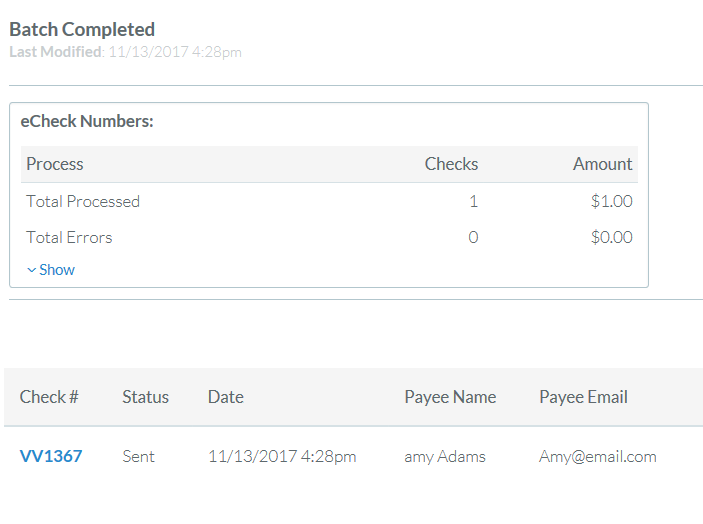
- Insert link to printing batches.
In your account activity you will see that the checks have been sent. If you wish to print out a group, go to your Lockbox, select all the checks you wish to print, and select Print Checks on the top right.
Comments
0 comments
Article is closed for comments.