
The process of receiving checks begins by navigating to lockbox you want to use. The eChecks application detects whether or not you have more than 10 receiving lockboxes and displays the screen that provides you the quickest and easiest method to select the account you want.
For users with less than 10 lockboxes
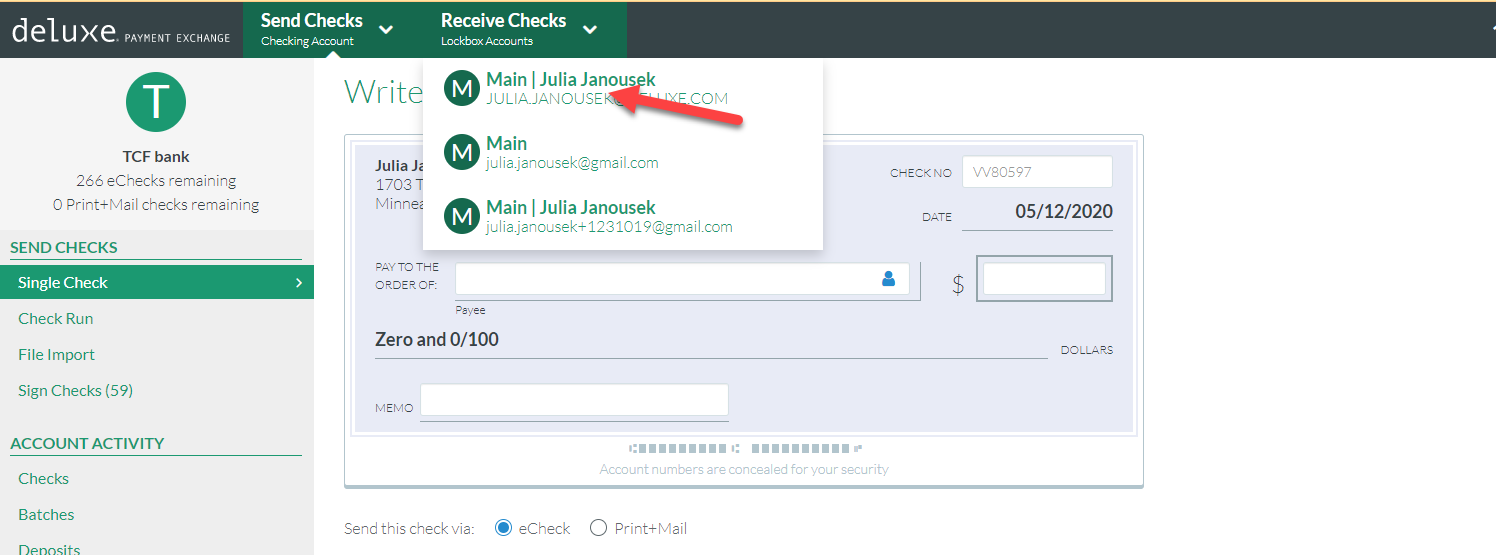
Look for the Receive Checks button on the top navigation. Click that and a list of all your lockbox accounts will display below. Select from the list and you're ready to receive payments.
For users with more than 10 lockboxes
When you click Receive Checks from the top navigation, the system automatically displays a search screen. The Search screen gives you multiple ways to navigate quickly to the account you want.
- Enter the name (or partial name) in the first box under Filters; then hit enter (or click Apply) and accounts matching this criteria will display.
- Select a filter to search accounts that meet certain criteria (lockboxes with new payments, lockboxes with new documents or both).
- Select an account directly from the list by clicking on the account name.
In addition to entering search criteria, you can also:
- Page through your account list using pagination arrows
- Use the scroll bar to look through your full list of accounts

Comments
0 comments
Please sign in to leave a comment.